In any normal circumstance, we would have been using inventor for this project. Unfortunately, our current situation is anything but normal because of virtual learning so we had to improvise. We couldn't use the school computers so instead of using Inventor like we originally planned, we ended up using Tinkercad, a different online 3D modeling system that we could access from our homes. We used Tinkercad to create 3d models of all 6 of our widgets.
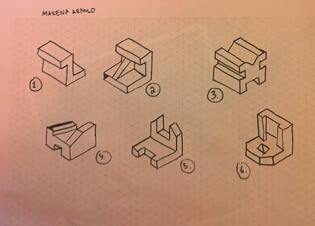
These are my widget sketches for all 6 widgets.

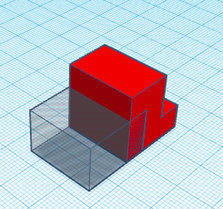
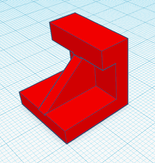
1.) I added a cube to the plane as a base for the first widget.
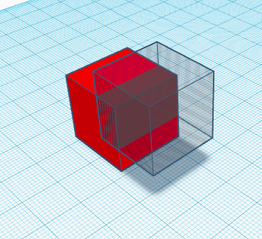
3.) After that, I added and aligned another hole by repeating the previous steps.
|
2.) I then added a "hole" by inserting another cube and changing it's color to hole. In order to make the hole show, I had to select both shapes and make a group out of them.
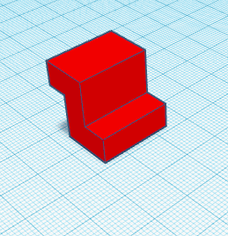
4.) And this is my competed shape. When I finished my shape, I downloaded it as a .stl so I could 3D print it later.
|
|
|
|
|
|
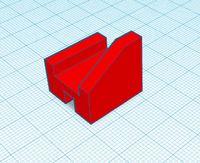
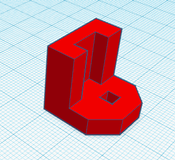
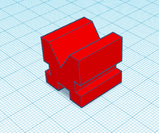
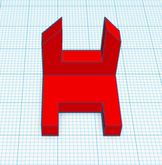
These are screenshots of the other 5 widgets I made.
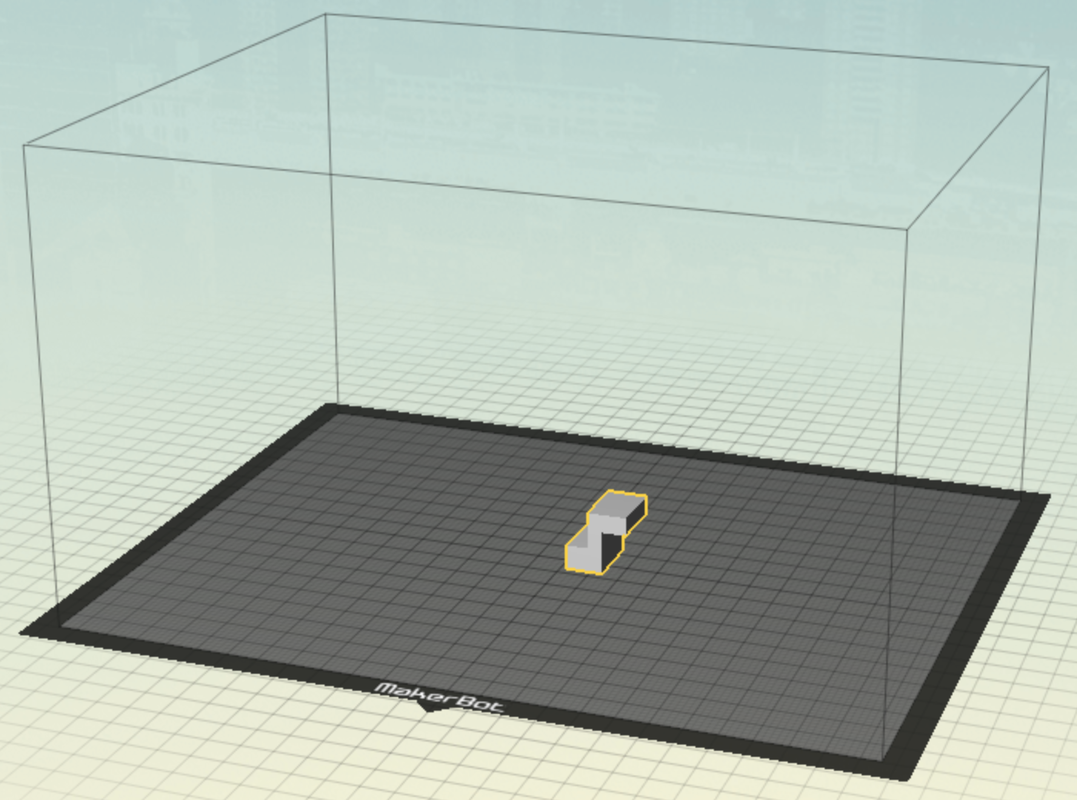
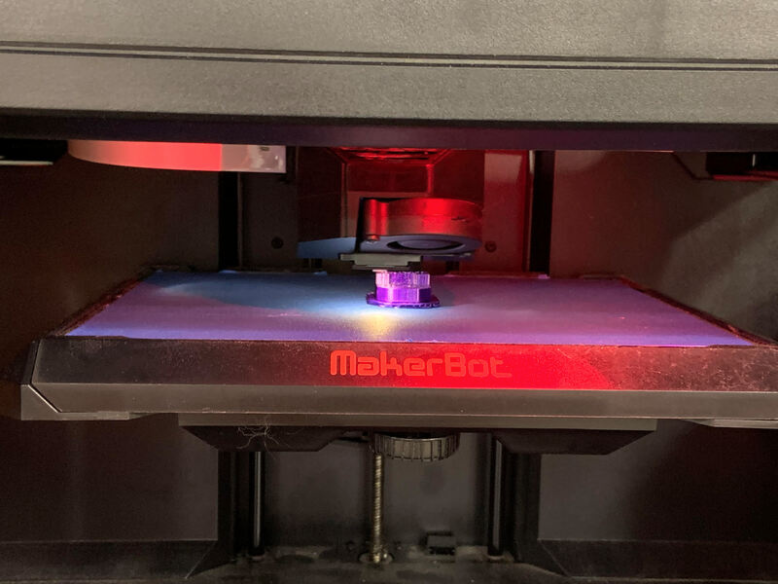
Next, I move the widget file to Maker Bot, which is the program we will be using to 3D print the widget. First, you save the widget, and make sure it's an .stl file. In the Maker Bot software, you add a file and import the widget. Rotate it until it doesn't need any supports. Go into scale and make sure it is the right size. You can preview the process by hitting the preview button and watch through the process. Then, when everything is ready, you can print your widget.
|
|
Reflection
This time was tough, having to improvise this project was no different. It was very interesting learning how to turn an image on a screen into something real. There were plenty of mistakes along the way, but overall this project was a fun learning experience that showed us that things can still work out even when they don't go according to plan.
